Installation Instructions
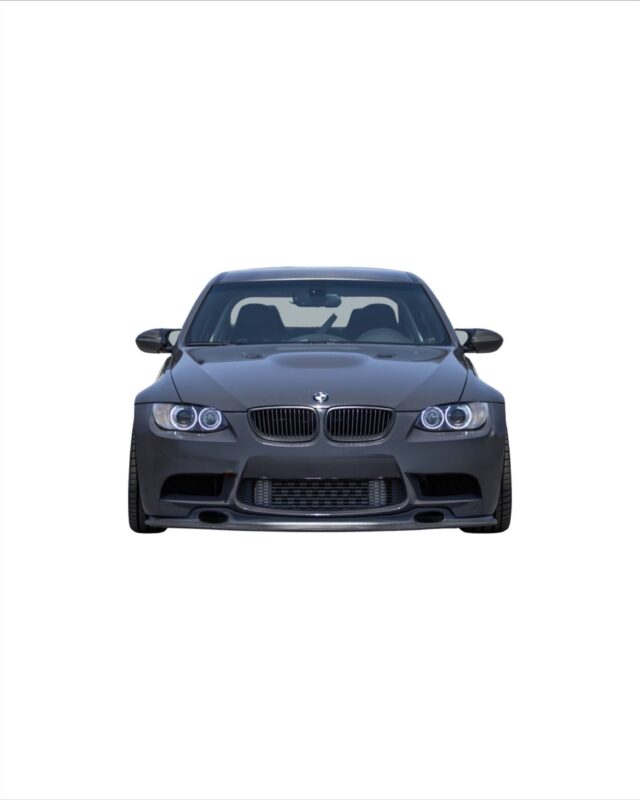
Installation Instructions for E9X 3 Series GT4 V1 Carbon Fiber Front Lip Diffuser
Here’s a step-by-step guide to help you install the E9X 3 Series GT4 V1 Carbon Fiber Front Lip Diffuser:
Note: It is recommended to have this installation performed by a professional or someone with experience in automotive modifications.
Tools needed:
– Jack stands or a car lift
– Socket wrench set
– Screwdriver (Phillips and flathead)
– Trim removal tool (optional)
– Adhesive promoter (optional)
– Alcohol wipes (optional)
Installation Steps:
1. Ensure safety: Park your vehicle on a flat surface and engage the parking brake. If available, use jack stands or a car lift to elevate the front end of the vehicle. This will provide better access to the underside of the bumper.
2. Prepare the front bumper: Using a socket wrench, remove any screws or clips securing the factory front lip or underbody panels. Carefully detach these panels and set them aside, as they will no longer be needed.
3. Clean the mounting area: Thoroughly clean the mounting surface of the front bumper using alcohol wipes. This will remove any dirt, grease, or debris that may hinder the adhesion of the new front lip diffuser.
4. Test fit the front lip diffuser: Place the GT4 V1 Carbon Fiber Front Lip Diffuser onto the front bumper, aligning it with the mounting holes. Ensure that the diffuser fits properly and lines up with the contours of the bumper. Make any necessary adjustments before proceeding.
5. Secure the front lip diffuser: Depending on the design of the front lip diffuser and your specific vehicle model, it may attach using screws, clips, or adhesive. Refer to the product instructions to determine the recommended method of installation.
a. Screw installation: If screws are provided, insert them into the pre-drilled holes on the front lip diffuser. Align the diffuser with the mounting holes on the bumper and tighten the screws securely using a socket wrench.
b. Clip installation: If clips are provided, carefully attach them to the front lip diffuser. Align the diffuser with the mounting holes on the bumper and press firmly to secure the clips in place.
c. Adhesive installation: If adhesive is recommended, apply adhesive promoter (if provided) to the mounting surface on the bumper. Apply a thin, even layer of automotive-grade adhesive to the underside of the front lip diffuser. Align the diffuser with the bumper and firmly press it into place, ensuring good adhesion.
6. Check alignment and fitment: Once the front lip diffuser is installed, step back and visually inspect the alignment and fitment. Ensure that it is centered and sits flush with the bumper. Make any necessary adjustments if needed.
7. Reinstall underbody panels: If the factory underbody panels were removed in Step 2, reattach them using the original screws or clips. Ensure they are securely fastened to the front bumper.
8. Lower the vehicle: If you used jack stands or a car lift, carefully lower the vehicle to the ground, ensuring it is stable and secure.
Congratulations! You have successfully installed the E9X 3 Series GT4 V1 Carbon Fiber Front Lip Diffuser on your BMW. Enjoy the enhanced aesthetics and improved aerodynamics it brings to your vehicle’s front end.


